
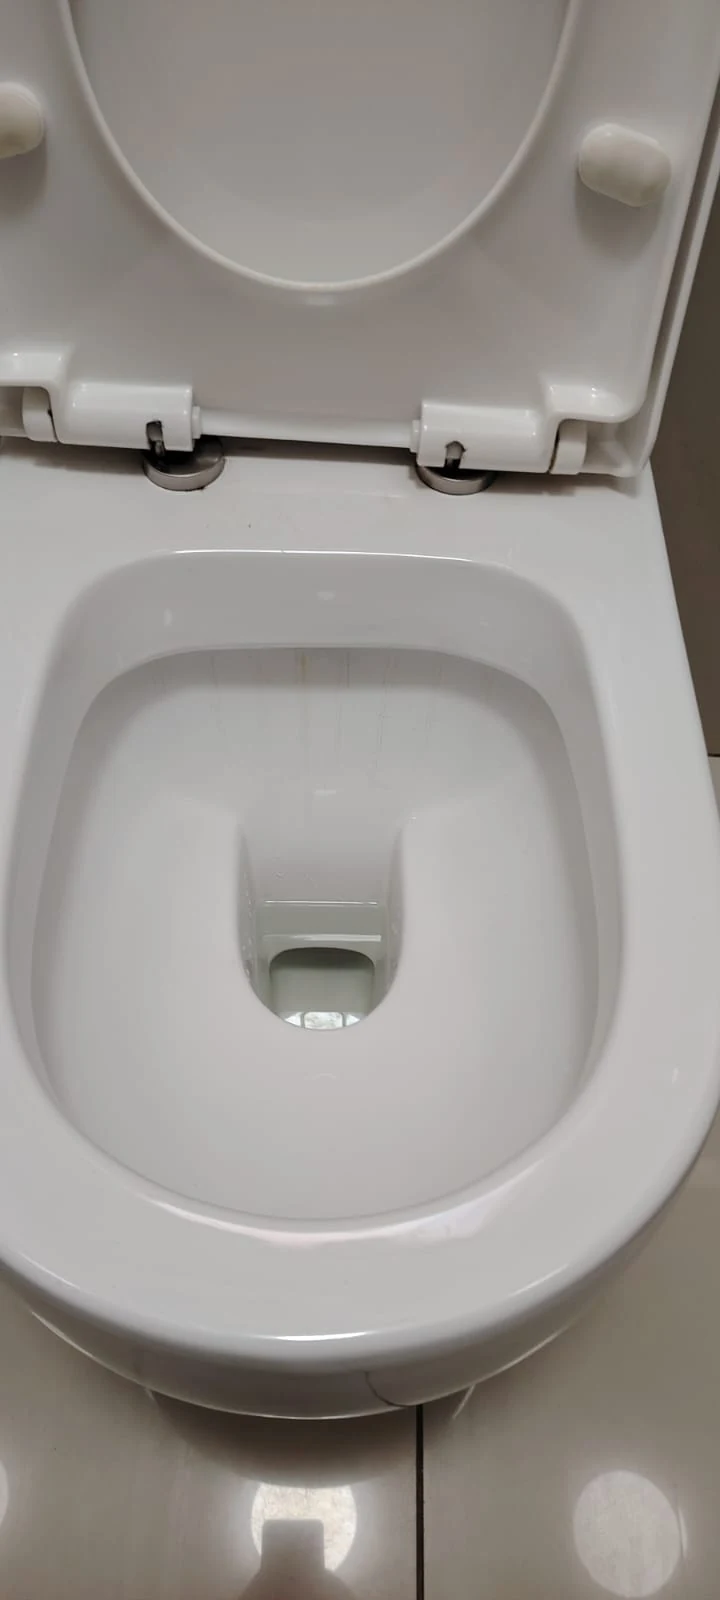
A toilet installation must do more than look neat. The pan needs the correct outlet alignment, firm support, reliable water connection, accessible isolation and a leak-free seal. Poor installation can lead to movement, odours, weak flushing, hidden leaks and damaged flooring.
Before you worry
The replacement toilet must suit the existing waste outlet position and available space. Measure before buying, because a toilet that does not match the connection may require pipe alterations rather than a simple swap.
How to recognise the problem
- The old toilet rocks, leaks or no longer flushes reliably.
- The pan is cracked, heavily stained or difficult to maintain.
- The bathroom layout is being renovated.
- The outlet position does not match the intended new toilet.
- The isolation valve or water connection also needs replacement.
Common causes
- Replacement after age, damage or repeated repairs.
- Bathroom renovation or accessibility improvement.
- Water-saving upgrade.
- Incorrect previous installation.
- Change between close-coupled, back-to-wall or wall-hung designs.
What you can safely check yourself
- Measure the distance and direction of the waste outlet.
- Check available wall and door clearance.
- Confirm the new toilet includes or specifies required fittings.
- Plan for another toilet to remain available during the work.
- Photograph the existing connections for discussion with the installer.
What you should never do
- Do not buy solely by appearance without checking outlet compatibility.
- Do not reuse a damaged pan connector.
- Do not rely on silicone as the primary fixing.
- Do not overtighten ceramic fixings.
When to call a plumber
Use a plumber when the outlet must be altered, the floor is uneven or damaged, the toilet is wall-hung or concealed, or compliance and waterproofing could be affected.
How professionals solve it
The plumber isolates and removes the old toilet, checks the waste connection and floor, fits a suitable pan connector, levels and secures the new pan, connects the cistern and isolation valve, seals appropriately and performs repeated leak and flush tests.
How to prevent it happening again
- Choose serviceable components with available spares.
- Keep the isolation valve accessible.
- Fix movement immediately.
- Avoid harsh impacts on ceramic fittings.
- Maintain clear access to concealed components.
CUSTOMER QUESTIONS
Can any toilet replace my existing one?
No. Outlet position, dimensions, water connection and clearance must match the chosen pan and cistern.
How long does a toilet installation take?
A simple like-for-like swap may take a few hours. Pipe alterations, floor repairs or concealed systems take longer.
Why measure the outlet before buying?
A mismatched outlet can force extra pipework and cost rather than a straightforward replacement.
Should silicone be the main fixing method?
No. The pan must be mechanically secure and the outlet connection proven first.
What causes rocking after installation?
Uneven floors, poor packing or incorrect fixing can leave the pan unstable and stress the connector.
Do I need an isolation valve?
Accessible isolation is strongly recommended for maintenance and emergency shut-off.
When should a plumber handle the install?
When the outlet must move, the floor is damaged, the system is wall-hung/concealed, or waterproofing could be affected.
What is checked during final testing?
Secure seating, connector integrity, cistern fill/flush behaviour, isolation operation and leak checks under use.
How can I reduce future toilet problems?
Choose serviceable parts, keep the isolation valve reachable and fix movement or seepage immediately.
Can Plumb A Nator install toilets?
Yes. Contact the team for measurement, installation and testing on Gauteng properties.
Want practical advice on toilet installation guide?
Send details about toilet installation guide and our team will recommend the most appropriate service.